Friday, March 28, 2014

Curiosity #2: Polishing The Turd

Stringent control of airflow into and out of the house is required for the PassivHaus design to function as intended. As a result, one of the primary features of the house is a continuous air barrier. The continuous air barrier stops uncontrolled air from flowing from inside to outside or from outside to inside in order to keep fat lazy pets reclining on memory foam beds in draft free climatic nirvana despite what owners are experiencing outside.

Executing an air barrier properly amounts to: 1. choosing materials that are air impermeable, 2. assembling air impermeable materials into air impermeable components, 3. assembling air impermeable components into an air impermeable building. And therein lies the problem in one simple word--assembly.

One assembly problem that's haunted me for months is how to join the ultra durable and ultra slick (as in things don't stick to it) 15mil Stego Wrap  which forms the bottom of the air barrier to the air sealed plywood sheathing. The first failed attempt to join Stego Wrap (yellow) using Grace Vycor Plus tape (black) and a bit of Prosoco R-Guard Fast Flash (red) appears below.

Stego Wrap (yellow) + Vycor Plus (black) + Fast Flash (red) = Fail
The system did not fail for lack of adhesion. I was worried about the tape and Fast Flash sticking to the polyethylene Stego Wrap. Neither had a problem. In fact it took a massive amount of mechanical force to pull the materials apart when the system was disassembled. Reason for failure: I could not get all three materials joined together in the corners in such a way as to make me confident in the air tightness of the assembly. Mind you that's on an outside corner. I cannot imagine the mess I would have made on an inside corner. 

OK. So we now know that Vycor tape sticks like mad to CDX plywood and polyethylene Stego Wrap. Fast Flash is nearly impossible to remove from Stego Wrap and concrete. The problem is making the transition in the corner. Shower systems like those designed by Schluter use preformed waterproof corners. If they're waterproof they must be air proof as well. The image below shows the benefit of adding complexity to the simple task of sealing out air.
  
Stego Wrap (yellow) + Henry 208R Roofing Cement (black) + Fast Flash (red) + Vycor Plus (black) + Joint & Seam Filler (Pink) + Preformed Corner (pale yellow) = Fail
The joint is so complex and took so much time and effort to install (imagine using a heat gun and rolling that Vycor tape by 3" increments to make it stick in near zero temperatures) it just had to work. Wrong. This assembly was put to the test shortly after installation by a big rain/slush event followed by a hard freeze. Ever heard of Ice Spikes? Me neither. And although Ice Spikes are particularly difficult to produce in a lab environment, they were like rabbits in spring at our build site. My theory is the Ice Spikes were pulling water through the corners and into the joint between the sheathing and the mud sill where it then defied gravity and made all sorts of ominous vertical formations on the bare wood framing.  

At this point Grace would be my number one fan except for the fact that I keep ripping up their products because I can't manage to make an air tight (or water tight) assembly using them; a huge buzz kill for the marketing department--"Use Vycor Plus for air sealing. It's disastrous!". Fortunately the 208R roofing cement stuck hard to the Stego Wrap. And with gravity jamming a substantially non-curing material into the joint with the concrete the air seal should improve as time goes on. No need to tear the 208R out. The Fast Flash and Joint & Seam Filler stuck to the concrete with gusto so they were left in place. 

While the wounds of the Ice Spike fiasco healed the joint between the first and second floor sheathing required air sealing attention. If I were a genius carpenter I would have had a nice uniform 1/8" gap to seal with a small bead of Joint & Seam Filler. But I'm not and that's what provided the inspiration necessary to wrap up the air sealing saga. The picture below shows a bead of Great Stuff Pro Wall and Floor Adhesive that is used as a shapable caulk backer rod to stem the tide of money pouring out of the caulk gun. 

Great Stuff Pro Wall and Floor Adhesive as Caulk Backer Rod
Wall and Floor adhesive is used because it has relatively low expansion compared to the other available foams (and it's what I had on hand). Once the foam skins over I mash it into the joint with a finger. The results of the finger mashing step are included below.

Great Stuff Pro Wall and Floor Adhesive Mashed Into Sheathing Joint

With a firm substrate in place the Joint and Seam Filler works its magic. It seals up all the small voids in the foam. And because it's elastomeric (like silly putty rubber), Joint and Seam will remain flexible over time. Believe it or not, it'll stretch with the foam even if the foam isn't fully cured when the Joint and Seam is applied. Wild. An image of the state of the art Stego Wrap to building sheathing connection is included below.
Stego Wrap (yellow) + Henry 208R (black) + Fast Flash (red) +Wall and Floor Adhesive (hidden) + Joint and Seam Filler (pink)  = Success
While it can't be seen in the picture above, foam wall and floor adhesive was used to bridge a 1/2" gap between the concrete coated in red Fast Flash and the bottom edge of the wall sheathing coated in pink Joint and Seam Filler. A bit more Fast Flash on the bare concrete spots and the Stego Wrap is joined to the sheathing with a tough monolithic elastomeric shell. The air sealing turd has been sufficiently polished. 

In closing, at this point I'm a firm believer in the use of liquid flashings (Fast Flash and Joint & Seam Filler) for making the connection between sub-slab polyethylene and plywood sheathing to form a continuous air barrier. Liquid flashing allows for an efficient, durable, and verifiable seal at complex material intersections. The system is highly adaptive when coupled with spray foam to form a solid substrate for subsequent liquid flashing application. Rest easy pets. Air sealing crisis averted.  

Note: 
1. Getting hold of the Prosoco R-Guard liquid flashing products is not an easy task for the intrepid individual. 
2. One source of Prosoco R-Guard products is Small Planet Workshop.
3. A second source of Prosoco R-Guard products is Allied Building Products. Prices are better but required quantities may be larger. 
4. Newborn Brothers 620AL sausage gun is recommended.


Saturday, March 1, 2014

Building Update #23: It Looks Like a House!

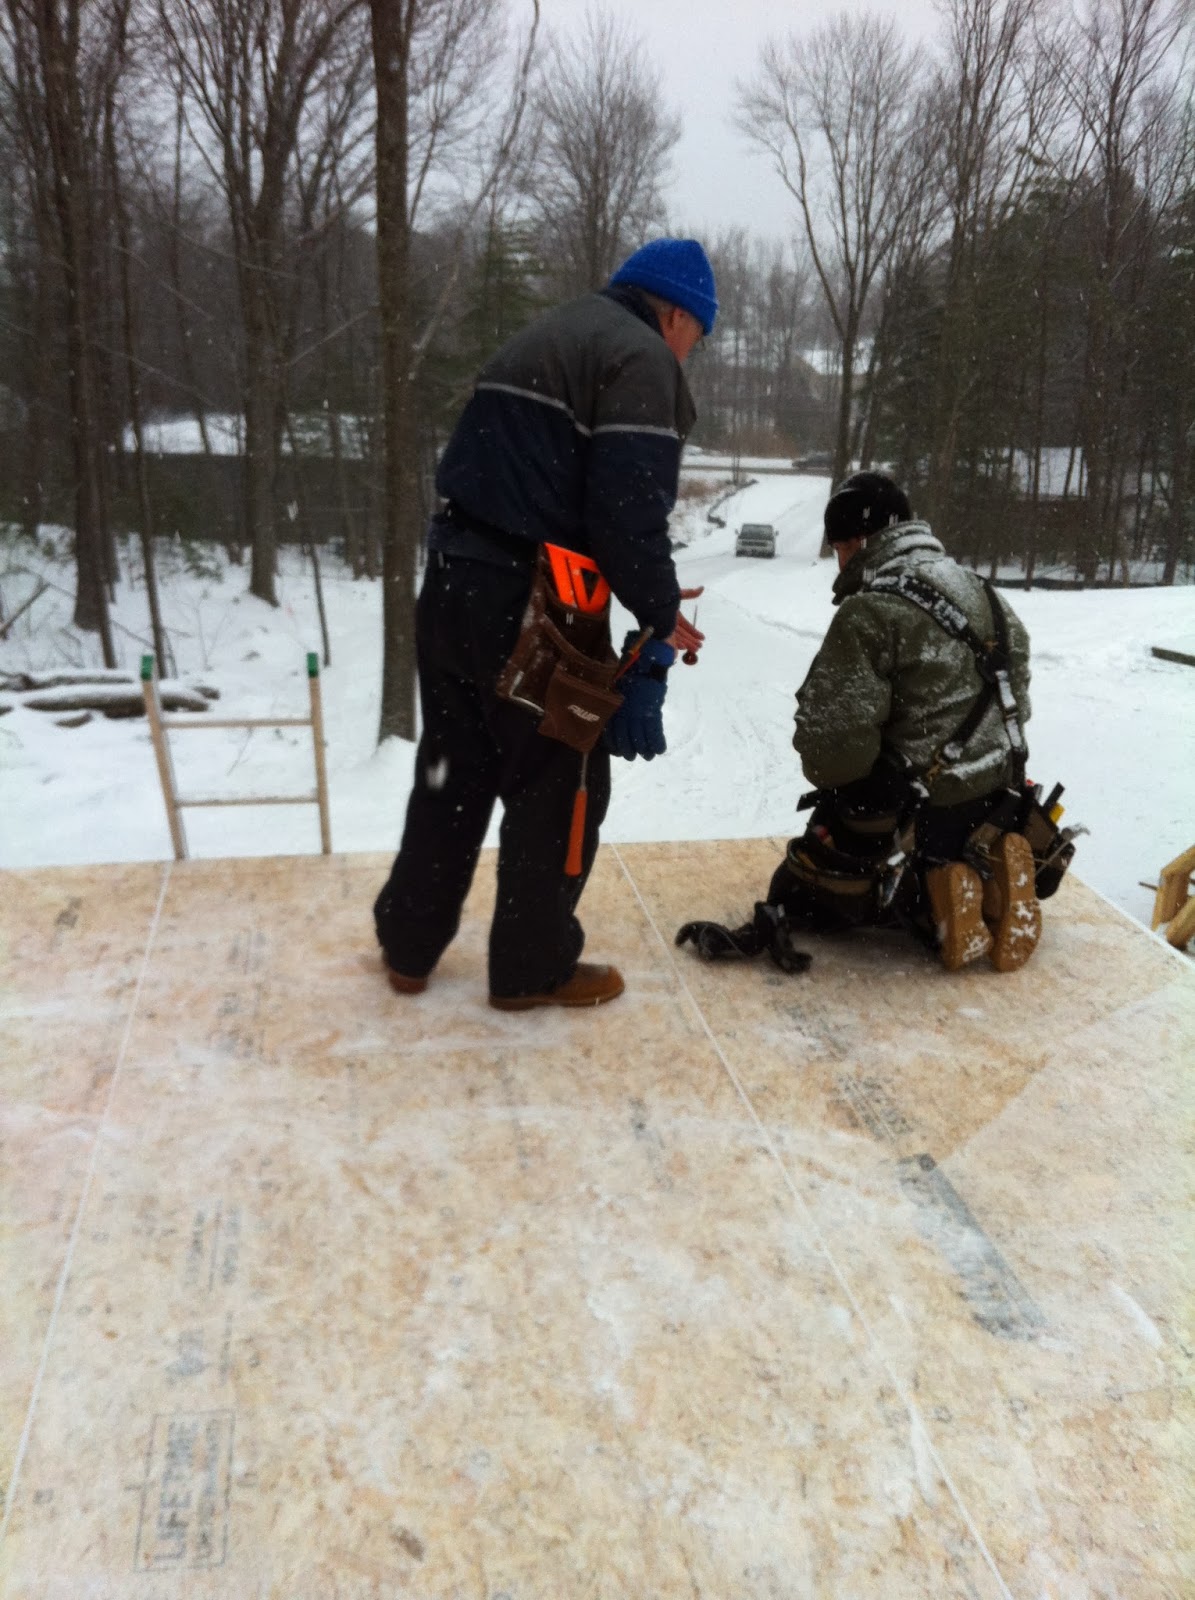
Jake has been gallantly struggling against the weather to get the roof sheathing on these past two weeks.  Every snow/ice/freezing rain storm that comes...and then melts...and then freezes causes at least a day of chipping ice or sweeping and vacuuming water out of the house.
The first trusses up (from three weeks ago).

All the trusses up, and most of the sheathing.


Jake measuring for the last truss blocking.

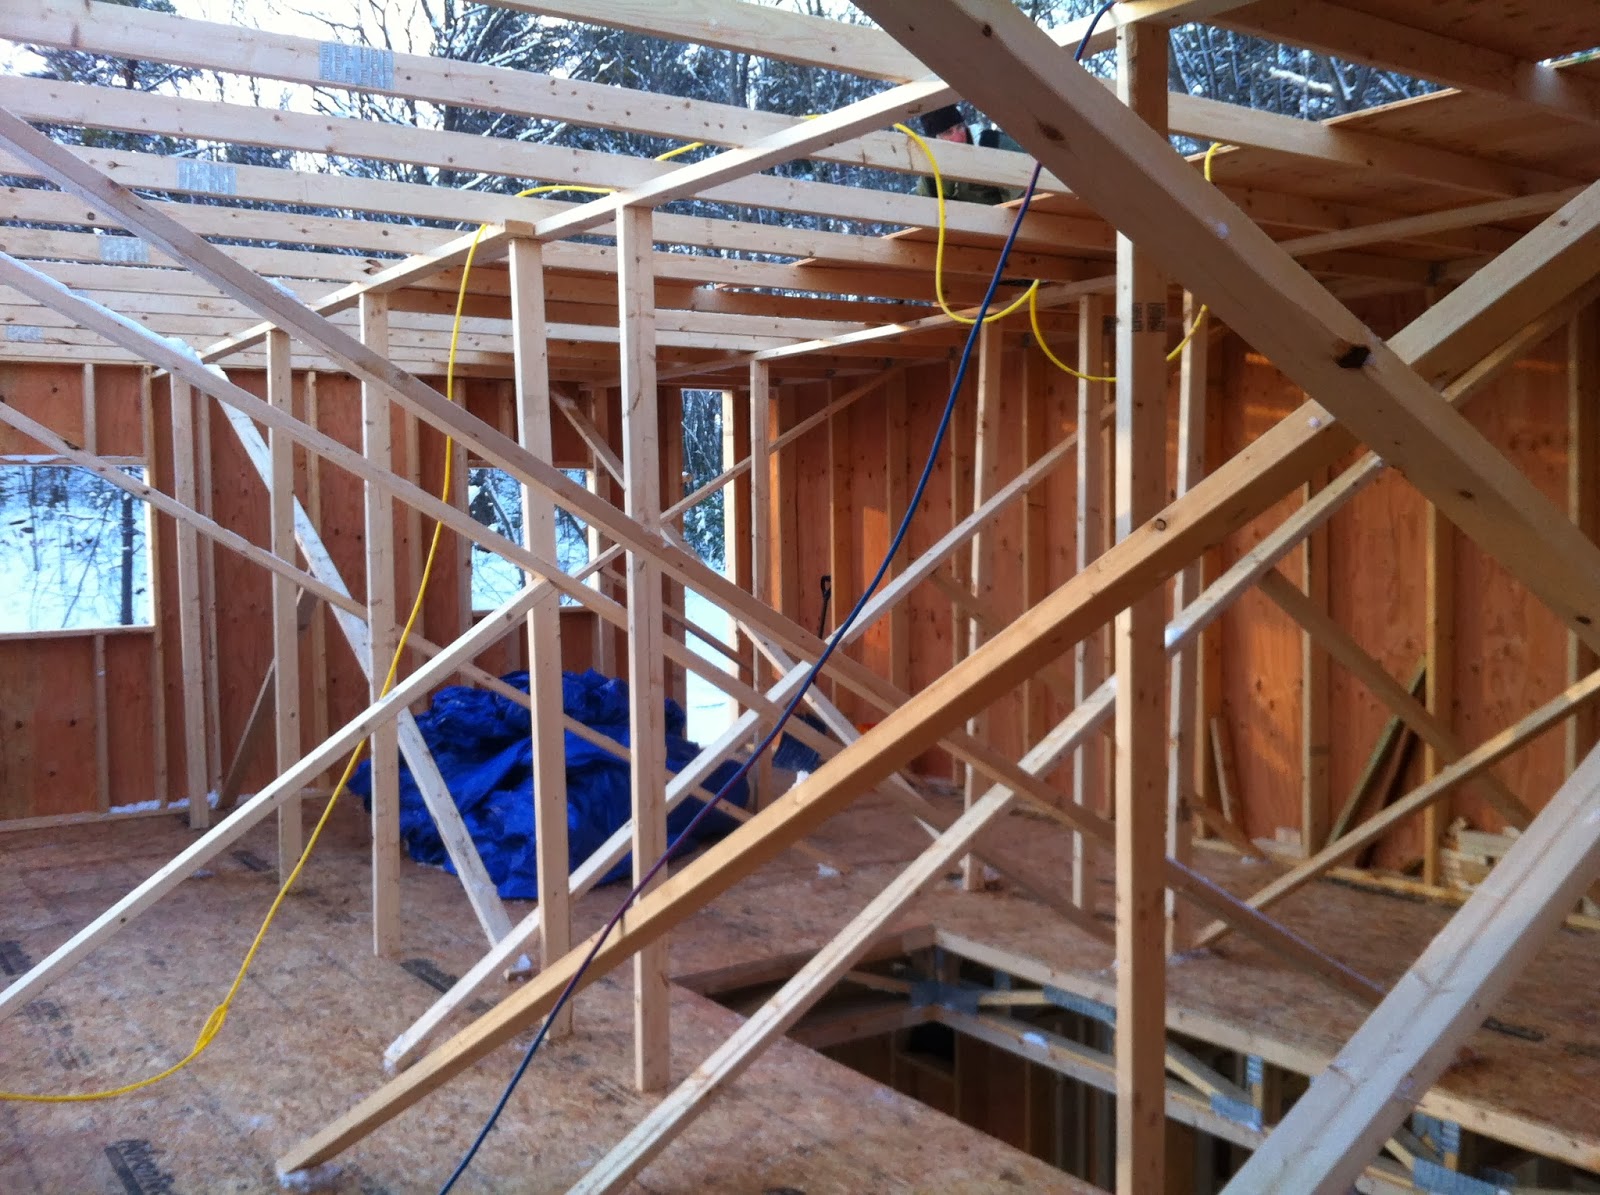
Up in the attic.

An almost completely weather-tight top.  Jake's roofing brackets down low and then toe-boards up high.  It would be appropriate to note that every time Jake was up on the roof, the blood pressure of his assistants (when he had them) would raise considerably.

Oh, and if your child doesn't mind lying on concrete, we offer babysitting services at the site on weekends. 


Saturday, February 15, 2014

Building Update #22 & Video #2 - Roof Trusses in Progress

I am sorry it has been so long since the last update.  I will catch you up to Jake's progress as quickly as possible! 

Waterproofing - during a particularly cold spell the last week of January we used a heat gun to heat up the butyl tape (black) and the concrete so it would stick.  Jake had already coated the concrete with liquid flashing (pink).  

This is the waterproofing between the foundation and the walls finally complete.  Jake used special fabric corners made for showers to solve the "how to seal the corners" problem.  No one ever shows how they did the corners in magazines or on You Tube.


Below is video of Jake's amazing contraption that he used to bring the roof trusses and other material up to the roof by himself. 


Once the trusses were on top, we had to put plywood on the gable ends.


Fast forward two weeks, and the gable ends are up with some roof trusses, and sheathing, too. 

Jake's parents were out again from Chicago to help out!

Our two Dads pulling sheathing up on to the roof with Jake bringing it out of the second story windows. 

The view from behind. 
As of today, there are only three roof trusses left to put up, plus the majority of the sheathing.  Still lots of snow hampering our progress!

Wednesday, February 5, 2014

Curiosity #1: How To Eat An Elephant (By Jake)

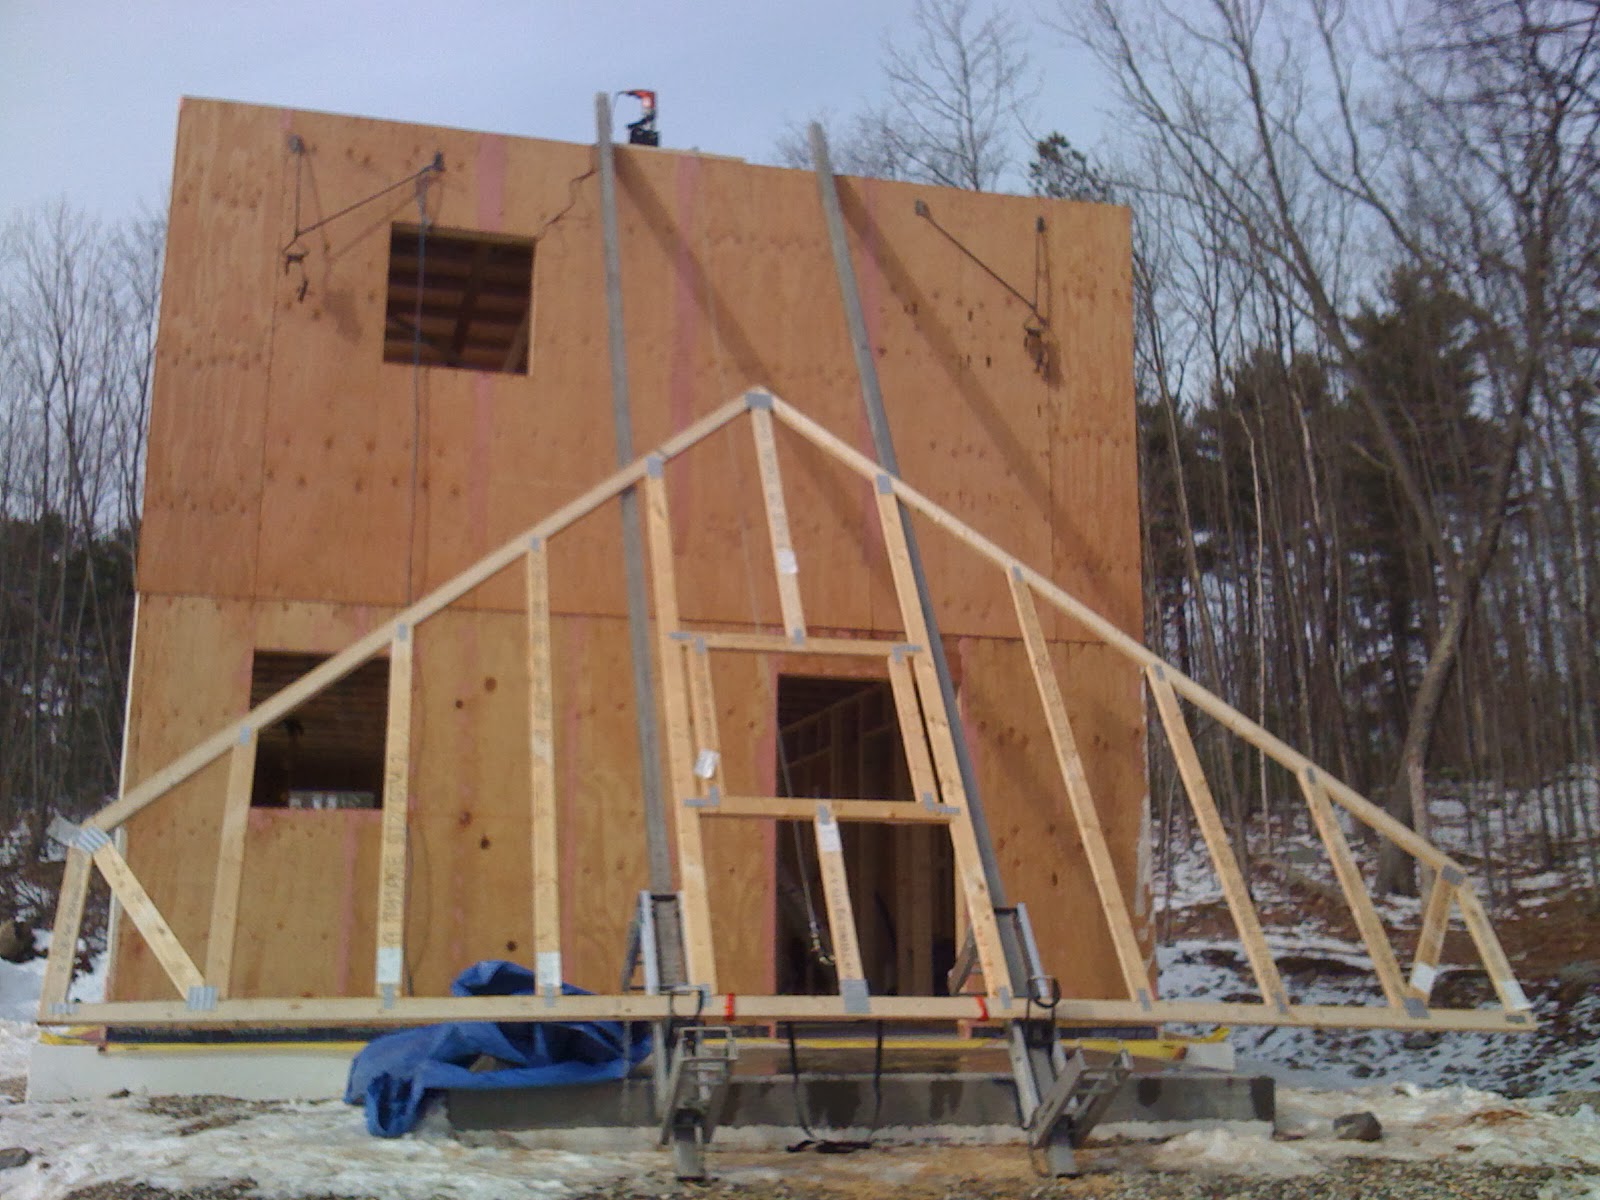
One of the more challenging aspects of home construction is moving heavy and often cumbersome pieces of material around on site. When working alone it's all the more challenging. Ever since the roof trusses showed up I've been asked: how are you going to move the roof trusses to the second story. 

Usually I'd tell people the lumber yard truck with its crane would move the trusses when it came to deliver the roof sheathing. Then I read BCSI-B1 Summary Sheet- Guide For Handling , Installing, Restraining, and Bracing of Trusses. Since I cut the truss bundle strapping to move the trusses by hand for storage each truss would need to be hoisted individually. Bummer. And frankly, I needed time to figure out the construction strategy which the lumber yard truck driver was unlikely to accommodate. On top of that, I wasn't all that certain the plywood lid with improvised bracing would be up to the task of supporting a stack of trusses. Best not to have someone around to witness calamity.

With the conceptual failure of the lumber yard truck, I was back to eating the elephant (lifting trusses) myself. The good news was the heaviest gable end frame weighed in at 159 lb. The bad news was I could not find a ladder lift available locally. Refusing to throw in the towel I did what any reasonably sane person who builds a house in Maine...during the worst winter in the last twenty years does. I went to Harbor Freight Tools to collect my thoughts on how I could best become a danger to myself. No one else was going to be around so there was no prospect for danger to others.

The improvised truss lifting rig is shown in the picture below.
Improvised Truss Lifting Rig


Yes'er. That there is a 1/2-inch Milwaukee hammer drill directly driving a $27.99 2000 lb. capacity worm gear hand winch that was crafted by people in China of metal. Bearings were conspicuous by their absence. Two $4.59 2-inch pulleys of 450 lb. capacity with powder metal bushing to extend pulley life and provide smooth operation were included to change lifting cable direction while minimizing friction. No snickering! 
To guide each truss in turn to the second story I used two 24' pump jack assemblies. The heaviest gable end frame loaded for action is shown below. Yes. The frame weighs more than I do. No. I did not have help moving it. Fortunately it's the middle of winter so there are slick patches of ice where I can bust my ass or make moving gable end frames easier.   
Gable End Frame Awaiting Blast Off
To rig the lifting cable to the truss simple webbing was used (see below). The legs of the rig were adjustable for length so that the lifting cable could be placed on truss centerline by eyeball. No laser alignment required. 
Truss Rigging 
Photographic evidence showing the hoisted gable end frame is included below.  
Great Success!
What about a brake? One benefit of working with cheap low quality non-precision worm gear driven equipment is that there is so much friction in the system that it acts as a full time brake that resists motion in any direction. While the winch was rated for 2000 lb. the screeching from the worm gear and acrid smoke pouring from the 1/2-inch drill at the conclusion of each lift had me wondering what would happen first: A. Truss plunges to its death due to winch failure or B. Drill catches fire and burns house down before it is jettisoned off gable end. Happily neither happened over a total of 17 successful lifts. 

So, how to eat an elephant? One bite at a time.

Sunday, January 19, 2014

Building Update #21: Eight Walls and a Lid

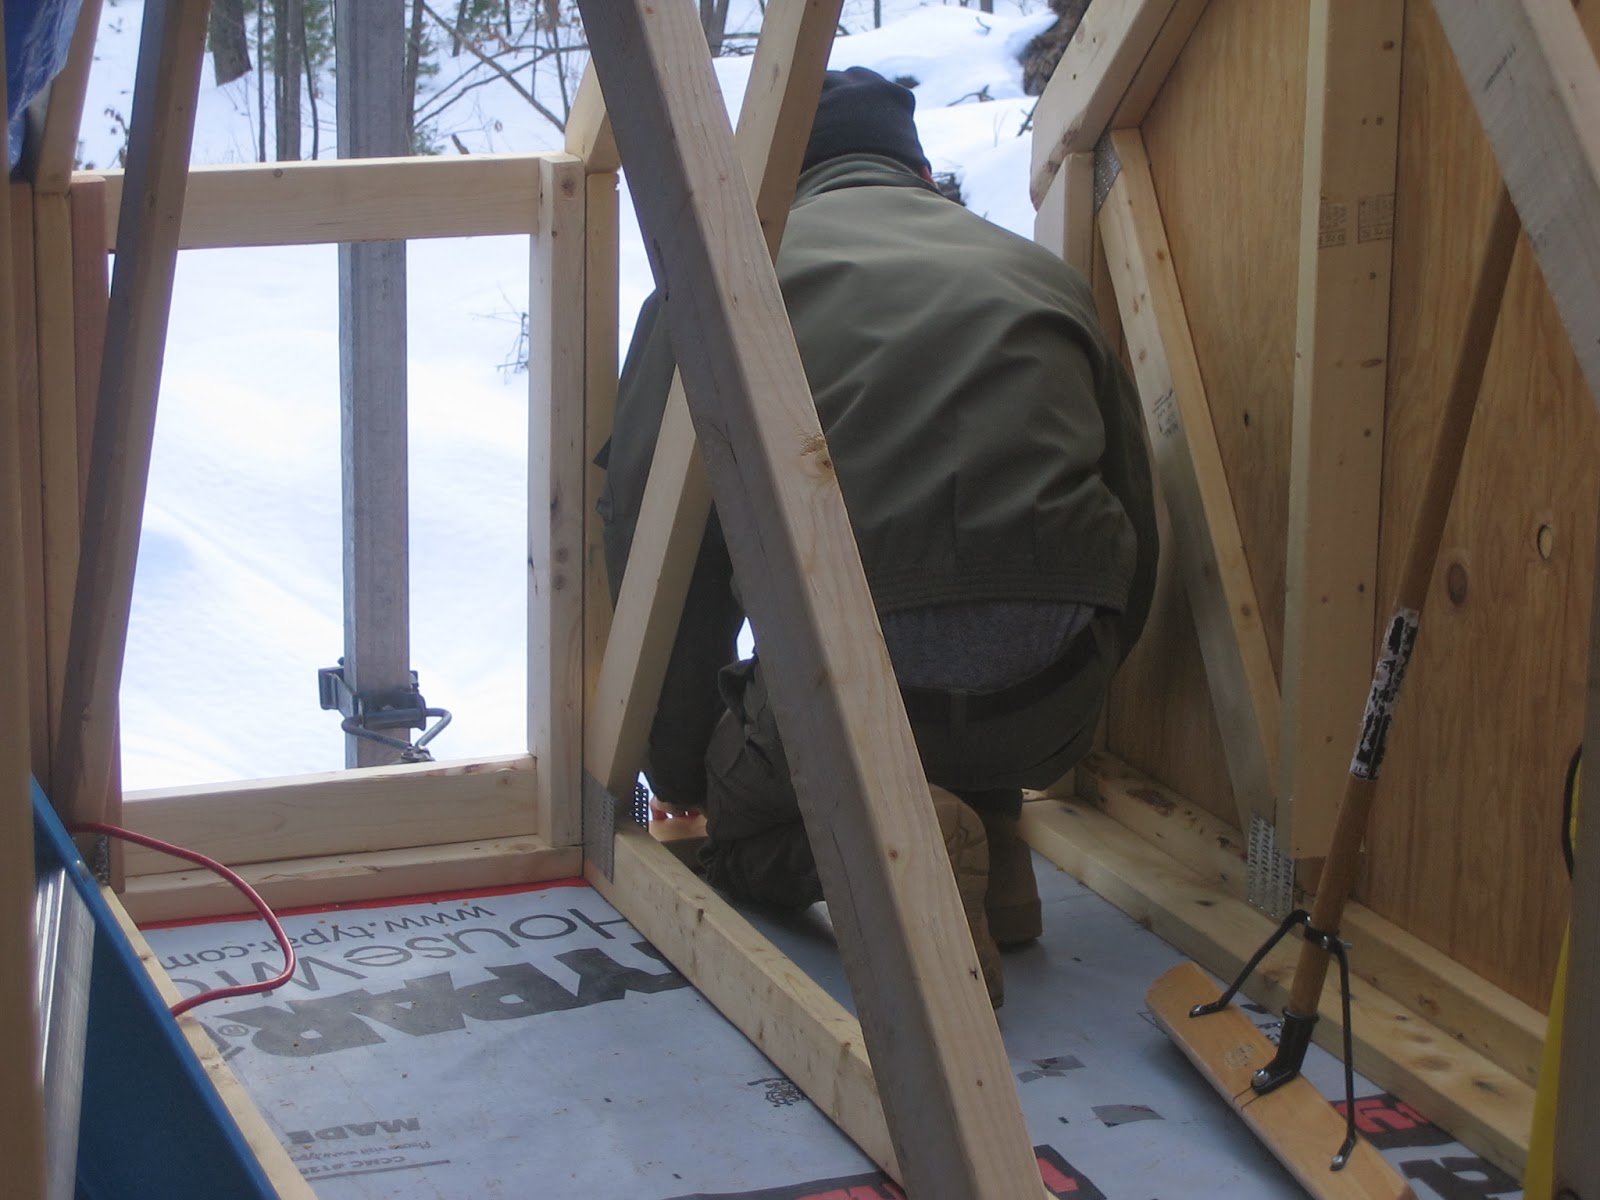
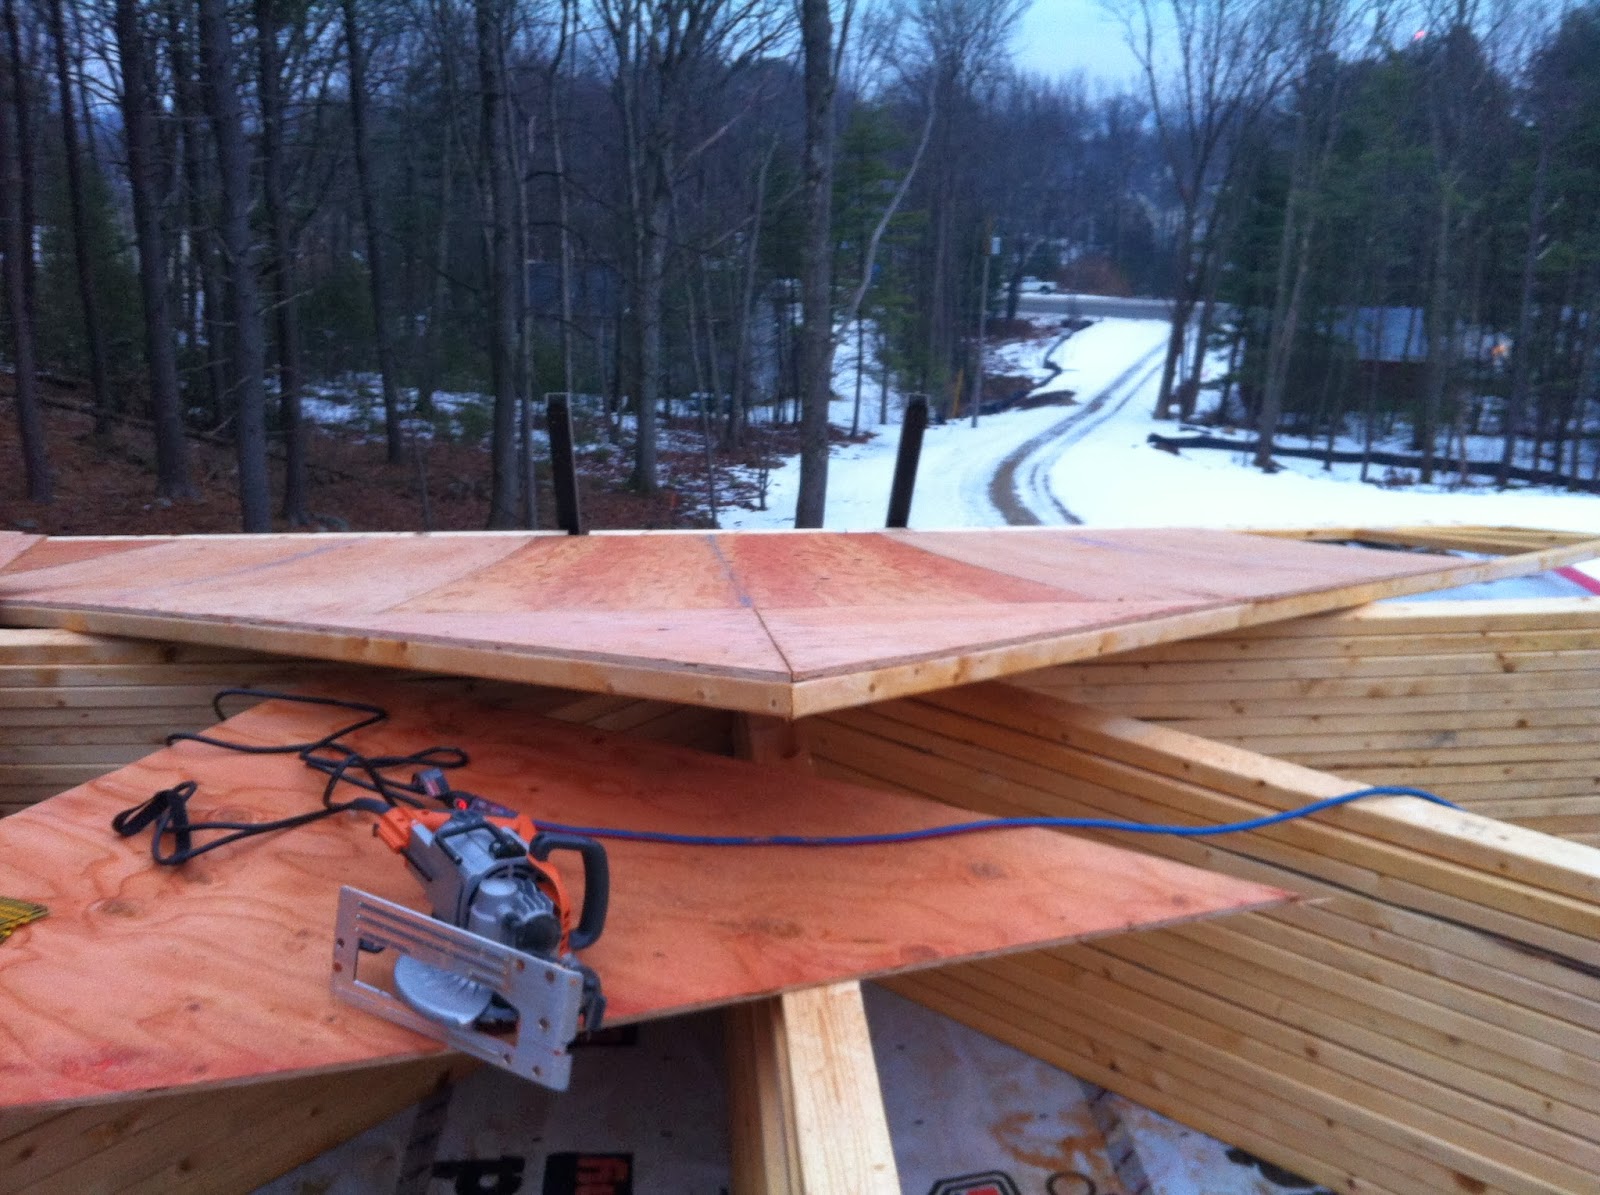
Jake worked really hard this week, and with the help of friends, family, and milder weather he was able to put up the last two walls.  Even though it snowed almost all weekend, we were able to plumb and square the walls, install a 2x4 frame across the top, and start putting plywood above the second floor (this is not normal - we are doing it for airtightness purposes). 
With all four walls up. 


The stairwell cut out.

A neighbor checks in on our progress. 

Plumbing and squaring the walls.  The braces get nailed to the top plate and the floor.  The "kicker" gets pushed into the brace, pulling the wall in.  Thank you YouTube.  

Installing the 2x4 braces.  We used mending plates to put two 2x4 studs together to make them long enough to span the walls. 

What we showed up to this morning.  Thanks Mother Nature!

All the 2x4 spans in place. 

We installed bracing to make it safe for Jake to walk around up there.

Moving plywood up to the top and nailing it in place.

By the end of the day we had a complete "lid", but only two rows were nailed.


Sunday, January 12, 2014

Building Update #20: A Break in the Weather = Two Walls

The past week and a half has been very frustrating as the cold weather prevented us from using caulk to air seal the second-story walls before they went up, and then we had to wait out some rainy weather.  Fortunately today was warm and sunny.  Jake rounded up a crew of 4 to help raise our first two second story walls.

The north wall went up first.  Some wind gusts gave us a scare, but we eventually figured it out. 


The walls went up as one piece, and they were REALLY heavy.  My Dad and my friend Sarah show what it takes to get it done.

From the front of the house.  The only window on the North wall is the bathroom window.

Now with both walls up.  The second wall was lighter, but we had a problem with it slipping off the edge as we lifted it.  Jake devised an on-the-spot system to put tension on the bottom plate as we lifted the top to prevent it from sliding away from us. 

The walls aren't perfectly plumb yet, but they will be once we get the end walls up.

The man himself.  Jake after a somewhat hairy but successful wall-raising.  Many, many thanks to Dad and Sarah for making this possible!

Wednesday, January 1, 2014

Building Update #19 - Holiday House Progress

Our progress has slowed somewhat over the holidays, not because we are not out there every day (except Christmas Day - Jake let us take it off), but because the weather has been unseasonably brutal - cold and snow.  Our winter has actually made national news (click here), with no end in sight.  
Jake and his Dad trying to snap chalk lines for our second floor wall bottom plates the day after Christmas.  We knocked off shortly thereafter since we couldn't stay ahead of the accumulating snow.


Framing up the long north wall.

Trimming the sheathing on the long north wall.

New Years Day - putting together our large window headers in the South Wall on the second floor.  We are using a single-ply header which allows us to fit the same amount of insulation above our windows as in our walls.  In order to meet code we have to glue, and nail it every 3 inches.  Here Jake is applying our glue.

Nailing the header.

Both headers complete.


South wall framed, sheathed, and windows routed.  North wall is complete as well.  We are just waiting for it to warm up enough to caulk (for airsealing), but it is not supposed to rise above single digits for the next two days.